How To Lay Backsplash In A Kitchen
Installing a kitchen backsplash is a practical and stylish way to protect your walls from spills and add a personal touch to your décor. Whether you're a seasoned DIY enthusiast or a first-timer, following a step-by-step guide can help you achieve a professional-looking finish.
Materials and Tools:
- Backsplash tiles
- Thinset mortar
- Grout
- Tile spacers
- Notched trowel
- Float
- Grout float
- Level
- Tape measure
- Sponge
- Bucket
- Safety goggles and gloves
Step 1: Prepare the Surface
Begin by thoroughly cleaning the walls where the backsplash will be installed. Remove any dirt, grease, or debris. If the wall is uneven or porous, you may need to apply a layer of backer board or mesh tape to provide a smooth and stable surface.
Step 2: Plan the Layout
Use a tape measure to determine the center point of the backsplash area. Start laying out the tiles from the center and work outwards, ensuring they are level and evenly spaced. Mark the positions of the tiles on the wall using a light pencil.
Step 3: Mix the Thinset Mortar
Follow the manufacturer's instructions to mix the thinset mortar. The consistency should be similar to that of peanut butter. Spread a thin layer of mortar onto a small area of the wall using a notched trowel.
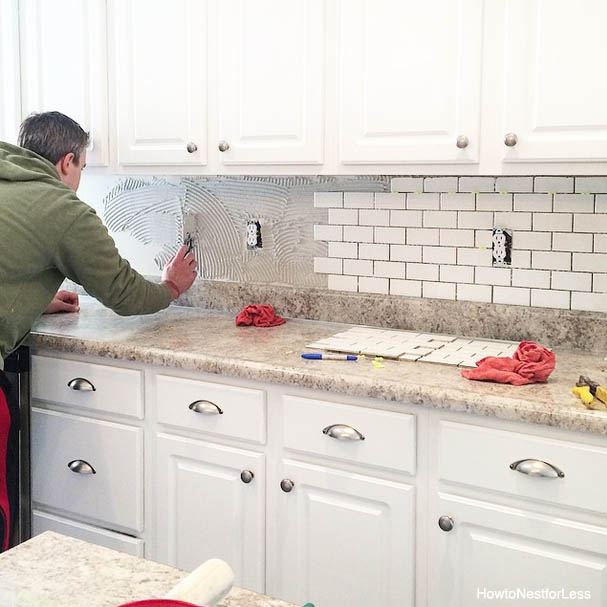
Step 4: Install the Tiles
Carefully press the tiles into the mortar, aligning them with the marks you made earlier. Use tile spacers to ensure even spacing and a uniform appearance. Tap the tiles gently with a float or rubber mallet to ensure they are secure.
Step 5: Grout the Tiles
Allow the thinset mortar to dry for at least 24 hours before grouting. Mix the grout according to the manufacturer's instructions and apply it to the joints between the tiles using a grout float. Use a sponge to wipe away excess grout and smooth the surface.
Step 6: Seal the Backsplash
Once the grout has dried completely, apply a sealant to protect the backsplash from moisture and stains. Choose a sealant specifically designed for the type of tiles you have installed.
Tips:
- Wear safety goggles and gloves for protection.
- Use a level to ensure the tiles are installed straight and evenly.
- Allow the mortar and grout to dry completely before exposing the backsplash to water or heavy use.
- Consider hiring a professional if you are not confident in your DIY abilities.

How To Install A Kitchen Backsplash The Best And Easiest Tutorial

How To Install A Perfect Tile Backsplash All Materials Tools And Prices Included

How To Install Kitchen Tile Backsplash Shades Of Blue Interiors

How To Install A Kitchen Backsplash The Best And Easiest Tutorial

How To Install Subway Tile Installing Backsplash For The First Time Crafted Workshop

How To Install A Tile Backsplash Arizona

How To Install A Pencil Tile Backsplash And What It Costs The Kim Six Fix

7 Diy Kitchen Backsplash Ideas That Are Easy And Inexpensive Epicurious

How To Tile A Backsplash Tutorial For Beginners

Diy Kitchen Backsplash Hawthorne And Main
See Also


